How to apply double sided tape
Tired of slow, messy tape application? Wasting materials and time hurts profits. Learn the right techniques for strong bonds and better efficiency.
Applying double-sided tape involves cleaning surfaces, cutting the tape, applying it firmly to one surface, removing the liner, and pressing the second surface onto the tape. Ensure good pressure for a strong bond.
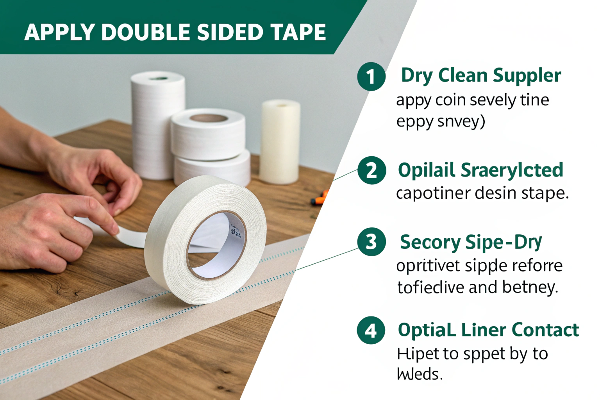
Getting the basics right is crucial for any application. But different tapes and situations need specific approaches. Let’s break down the common questions and methods further to ensure you get the best results every time.
How do you use double-sided tape?
Not sure of the exact steps for using double-sided tape? Guessing leads to weak bonds and wasted materials. Follow these simple, clear steps for reliable results every time.
To use double-sided tape, clean both surfaces thoroughly. Apply tape to one surface, pressing firmly. Remove the protective liner carefully. Align the second surface and press it firmly onto the exposed adhesive. Good contact is key.
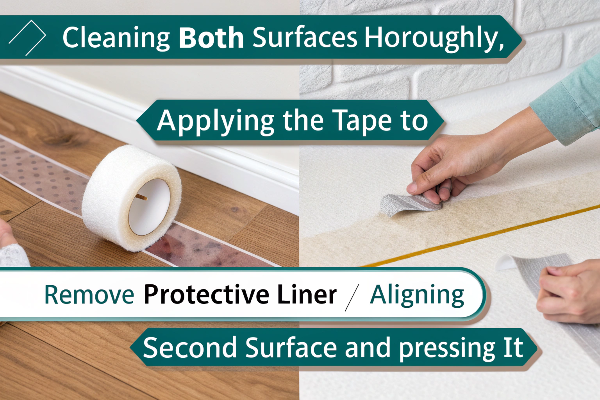
Applying tape seems simple, but the small details really matter for getting a strong, reliable bond. In my early days in the packaging machinery business, I saw many projects struggle because of poor tape application. Let’s walk through the best way to do it manually.
Surface Preparation is Key
First, make sure the surfaces you want to stick together are clean and completely dry. Any dust, dirt, oil, or even moisture will weaken the adhesive. For smooth, non-porous surfaces like metal or plastic, wiping them down with rubbing alcohol (isopropyl alcohol) and letting it dry often works well.
Cutting the Tape
Next, you need to cut the right amount of tape. Use sharp scissors or a utility knife for a clean cut. A ragged edge doesn’t look professional and can sometimes make the liner harder to peel off. Try not to touch the sticky sides of the tape with your fingers, as oils from your skin can reduce tackiness.
Applying the First Side
Carefully place the tape onto the first surface exactly where you want it. Once it’s positioned, press down firmly along the entire length of the tape. You can use your thumb or, for better results, a small roller or squeegee to ensure even pressure and good contact.
Removing the Liner
Now, you need to expose the second adhesive side. Gently peel back the protective liner. Starting at one corner and pulling slowly usually works best. Again, avoid touching the newly exposed adhesive.
Joining the Surfaces
Carefully align the second item you want to attach. Take your time here, because once the surfaces touch, repositioning can be difficult or impossible with strong tapes. Once aligned, press the second surface firmly onto the tape. Apply pressure across the entire taped area to ensure the best possible bond.
Here’s a quick table summarizing the steps:
| Step | Action | Why it Matters |
|---|---|---|
| 1. Clean | Wipe surfaces clean & dry | Removes contaminants |
| 2. Cut | Use sharp tool, clean cut | Prevents fraying, easier use |
| 3. Apply | Press firmly on first surface | Ensures initial adhesion |
| 4. Peel | Remove liner carefully | Exposes adhesive cleanly |
| 5. Align | Position second surface | Accuracy before final bond |
| 6. Press | Apply firm, even pressure | Activates adhesive fully |
Following these steps carefully will give you much better results than just quickly sticking things together.
How do you apply double-sided fabric tape?
Working with fabric tape but unsure how to apply it? Wrong methods mean hems fall or crafts unravel. Learn the specific technique needed for strong, lasting fabric bonds.
Apply fabric tape by first ensuring the fabric is clean and dry. Place the tape along the edge or seam. Press firmly. Remove the liner, fold the fabric over, and press again, sometimes using heat (like an iron) if recommended.
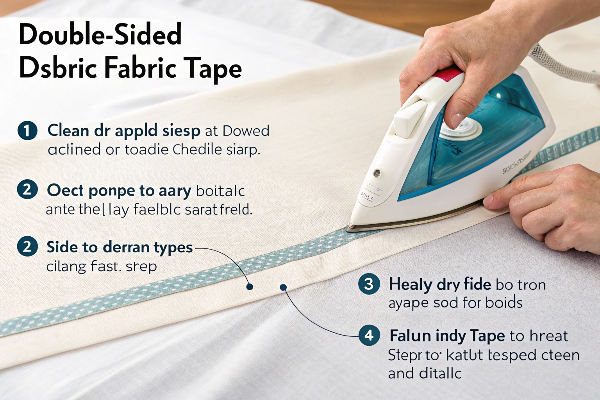
Double-sided fabric tape is a fantastic tool for quick clothing repairs, no-sew projects, and various crafts. However, fabric is a different kind of surface compared to paper or plastic, so the application needs a slightly different approach.
Choosing the Right Tape
First, know that there are different kinds of fabric tapes. Some create a permanent bond, strong enough to withstand washing. Others are more temporary, good for positioning pieces before sewing. Some tapes require heat (usually from an iron) to fully activate the adhesive, while others are pressure-sensitive only. Always read the packaging to make sure you have the right tape for your project and fabric type.
Preparing the Fabric
Like with other surfaces, the fabric must be clean and dry. If the fabric is new, it’s often a good idea to pre-wash it. This removes any sizing or finishing chemicals applied during manufacturing, which could interfere with the tape’s adhesive. After washing and drying, ironing the fabric smooth can also help the tape adhere better, especially along edges or hems.
Application Steps
Lay your fabric flat on a clean surface. Cut the fabric tape to the needed length. Apply the tape carefully along the edge or seam line where you want the bond. Press it down firmly along its entire length. Then, carefully peel off the protective liner. Fold the other piece of fabric (or the hem) over onto the exposed tape, aligning it precisely.
Securing the Bond
Once everything is in place, press down firmly again. Really work the pressure along the taped seam. If you’re using a heat-activated tape, follow the manufacturer’s instructions. This usually involves setting an iron to the recommended temperature (often medium heat, no steam), placing a pressing cloth over the seam, and pressing down for a specific amount of time (e.g., 10-15 seconds). Let it cool completely before handling.
It’s always smart to test the tape on a hidden scrap of your fabric first. This helps you check compatibility and practice the application, especially if heat is involved. Consider these points:
Compatibility: Will the tape work well with your specific fabric (cotton, polyester, silk, denim)?
Washability: Check if the bond is meant to be washable and follow any specific care instructions.
Placement: Position the tape carefully so it won’t be visible on the finished item.
How to apply 3M double-sided tape?
Using powerful 3M double-sided tape but worried about applying it right? Incorrect use wastes expensive tape and can cause bond failure. Understand the specific needs for optimal results.
For 3M tapes, especially VHB, clean surfaces meticulously (often with alcohol). Apply tape, ensuring firm, even pressure (use a J-roller). Remove the liner, join parts, and apply significant pressure again. Allow dwell time for full bond strength.
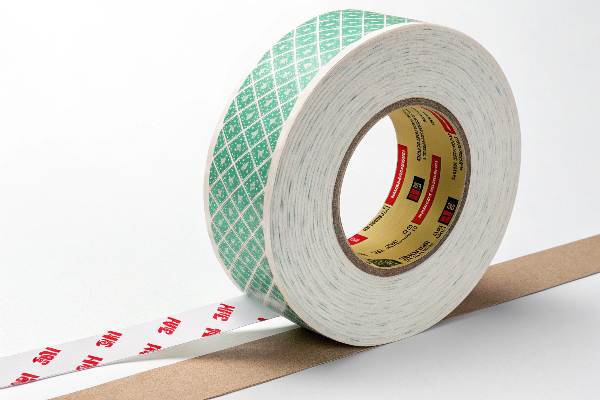
3M makes a wide variety of high-performance double-sided tapes, with their VHB™ (Very High Bond) range being particularly famous. These tapes can create incredibly strong bonds, sometimes even replacing mechanical fasteners like screws or rivets in industrial applications. Because they are so strong, applying them correctly is critical to get the performance you expect. 1
Surface Prep is Non-Negotiable
This is the most crucial step for 3M VHB tapes. Surfaces absolutely must be clean, dry, and unified. The standard cleaning method is often a 50/50 mixture of isopropyl alcohol (IPA) and water. Wipe the surface thoroughly and let it dry completely. Some materials, like certain plastics or painted surfaces, might require light abrasion or a special 3M primer to promote adhesion. Always follow the specific recommendations for the tape and substrates you are using.
Temperature Matters
Pay attention to the temperature during application. Most 3M VHB tapes have an ideal application temperature range, typically above 10°C (50°F) and below 40°C (100°F). Applying the tape when it’s too cold will prevent the adhesive from flowing properly onto the surface, resulting in a weaker bond.
Pressure, Pressure, Pressure
Adequate pressure is essential to activate the pressure-sensitive adhesive and ensure intimate contact with the surfaces. Apply the tape to the first surface with firm, consistent pressure. A J-roller or application roller is highly recommended to achieve the suggested pressure (often around 15 PSI). After removing the liner and joining the second surface, apply firm pressure again across the entire bonded area.
Dwell Time for Full Strength
Understand that 3M VHB tapes build bond strength over time. While they have good initial tack, they don’t reach their maximum strength instantly. Typically, they achieve about 50% of their ultimate bond strength after 20 minutes, 90% after 24 hours, and 100% after 72 hours. These times can vary based on the specific tape, temperature, and substrates. It’s important to avoid putting significant stress on the bond during this curing period.
In industries like ours at Kylin Machine 2, where components need reliable, long-lasting bonds in machinery or finished products like high-end boxes, using 3M tapes correctly is vital for quality and durability.
How to apply adhesive tape?
Confused by all the different adhesive tapes out there? Using the wrong technique for a specific type leads to poor results. Understand the general rules and where automation shines.
Applying adhesive tape generally requires clean, dry surfaces. Cut the tape, apply to one surface with pressure, remove any liner (if applicable), and join the second surface, applying final pressure. Specific steps vary by tape type.
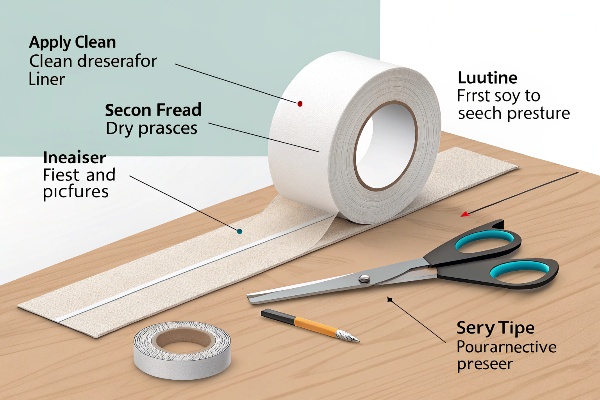
"Adhesive tape" is a very broad term, covering everything from simple masking tape to specialized industrial tapes. While we’ve discussed double-sided tapes in detail, let’s touch on the general principles and how things change in a production environment.
Universal Basics
No matter the type of tape, some basic rules usually hold true.
- Cleanliness: Surfaces need to be clean and dry for the adhesive to work properly. Dirt, dust, oil, and moisture are the enemies of good adhesion.
- Pressure: Most tapes are "pressure-sensitive," meaning they need firm pressure applied to create a good bond. The pressure helps the adhesive flow into the tiny peaks and valleys of the surface.
- Temperature: Very low or very high temperatures can affect how well the tape sticks during application and its performance later on.
Tape Types Vary
The specific application technique depends heavily on the tape’s purpose.
- Masking Tape: Applied lightly for temporary holding or paint masking, needs clean removal.
- Packing Tape: Needs good shear strength to hold boxes closed, applied with pressure using a dispenser.
- Duct Tape: Needs flexibility and often water resistance, conforms to irregular surfaces.
- Electrical Tape: Needs to insulate and stretch, wrapped tightly.
- Double-Sided Tape: Needs strong bonds on both sides, careful alignment and pressure are key.
Manual vs. Automated Application
Applying tape by hand is fine for occasional use or small jobs. But in a business setting, especially in packaging, printing, or bookbinding, manual application often becomes a bottleneck. Think about assembling thousands of foldable boxes that require precisely placed double-sided tape. Doing this by hand is:
- Slow: It limits production speed.
- Labor-Intensive: It requires significant manpower, increasing costs.
- Inconsistent: Achieving the exact same placement and pressure every time is difficult manually, which can affect quality. This relates directly to the pain points many of our customers in the graphic arts and paper converting industries face – managing costs and ensuring consistent quality. 2
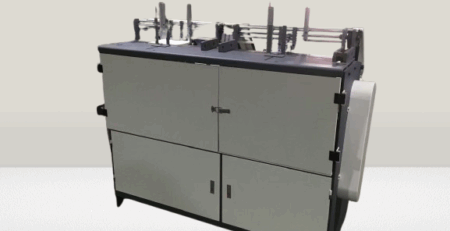
This is where automation comes in. At Kylin Machine, we recognized this challenge and developed solutions. For instance, our Manual Tape application machine 3 offers a simple way to improve consistency even without full automation. For higher volumes, machines like our Double-side adhesive tape applicator for foldable box 4 take over the process entirely. These machines apply tape quickly, accurately, and with consistent pressure, exactly where it’s needed, every single time. This dramatically increases efficiency, reduces labor costs, minimizes material waste, and ensures a high-quality, reliable bond for the final product. It turns a potentially frustrating manual step into a streamlined part of the production line.
Conclusion
Proper tape application relies on clean surfaces, firm pressure, and choosing the right method. For businesses needing speed and consistency, automation like Kylin’s machines offers significant advantages.
-
General knowledge about 3M VHB tape application guidelines. ↩
-
Manual Tape application machine, available from Kylin Machine. See: https://kylinmachinery.com ↩
-
Double-side adhesive tape applicator for foldable box, available at iboxmachine.com (related site) and implied product line for Kylin Machine.


发表回复